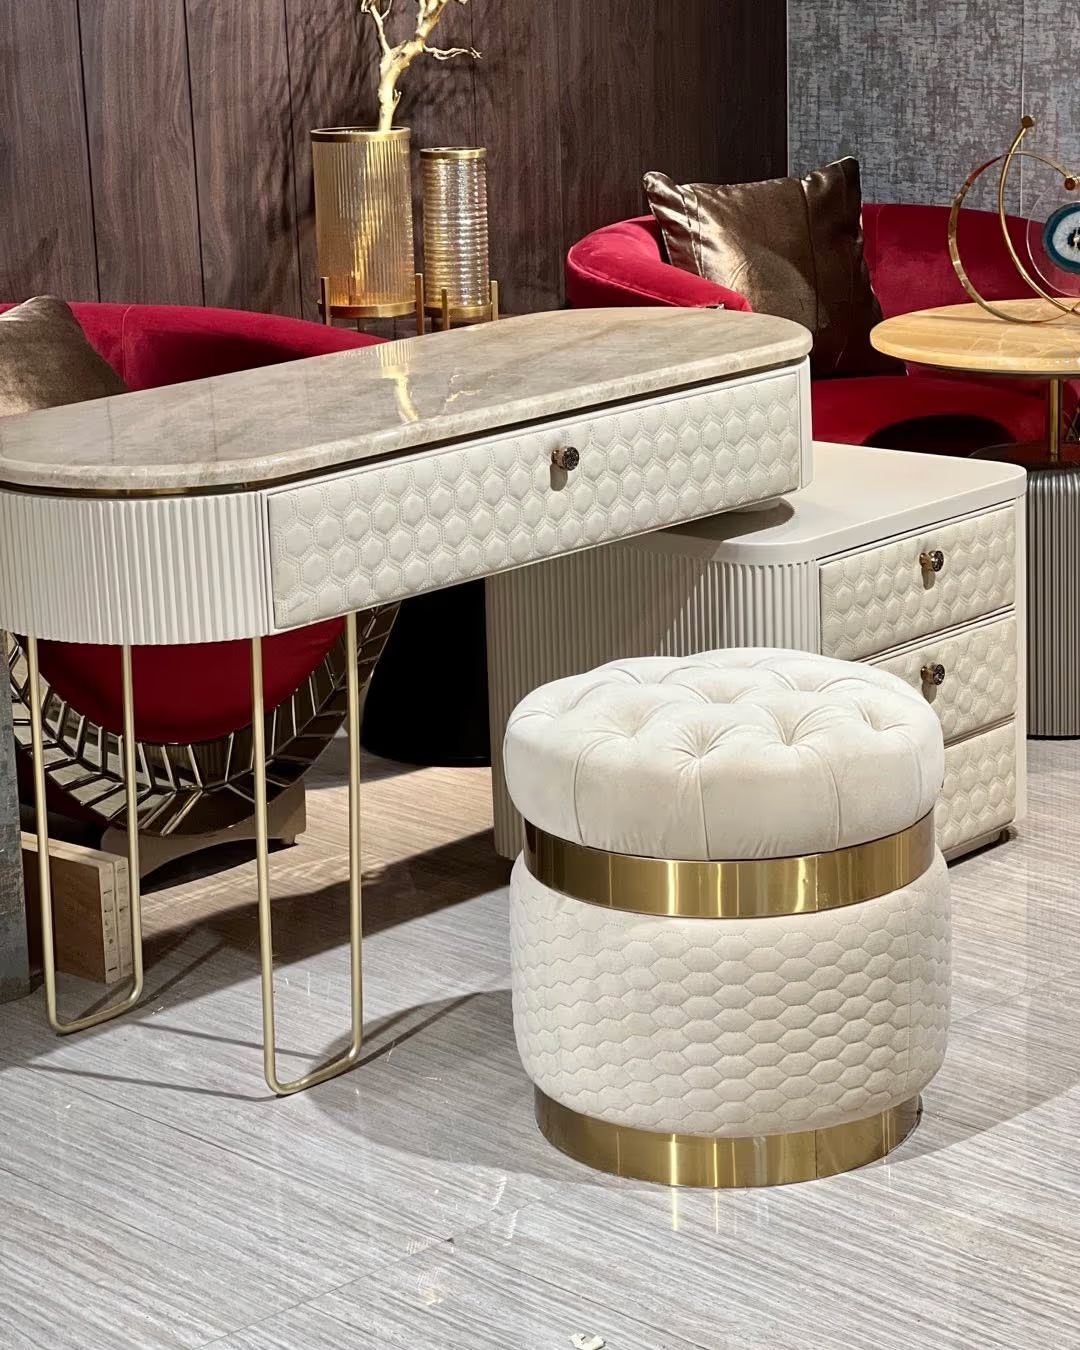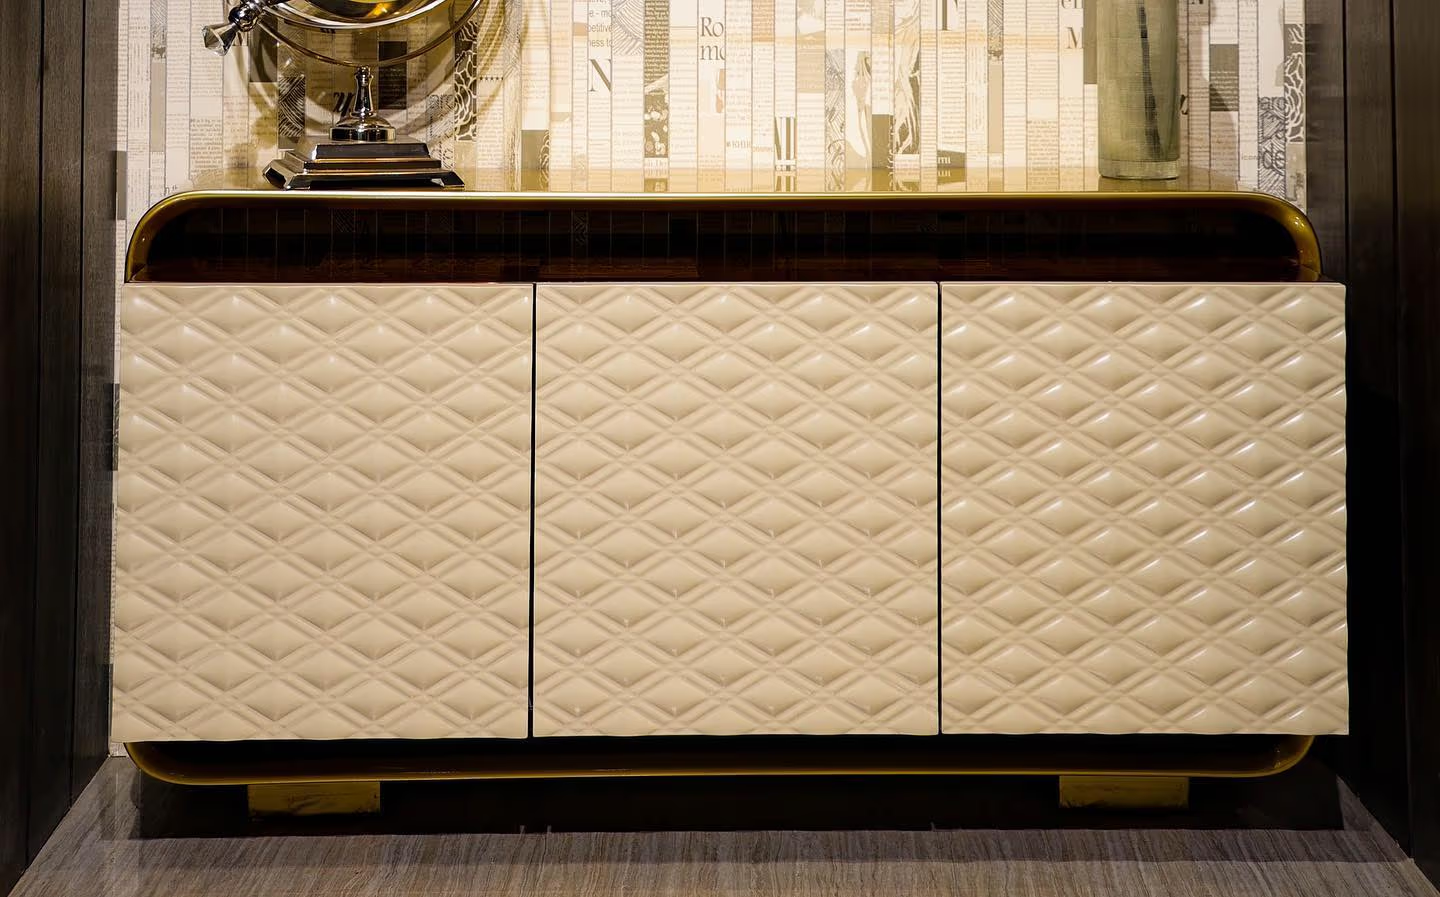

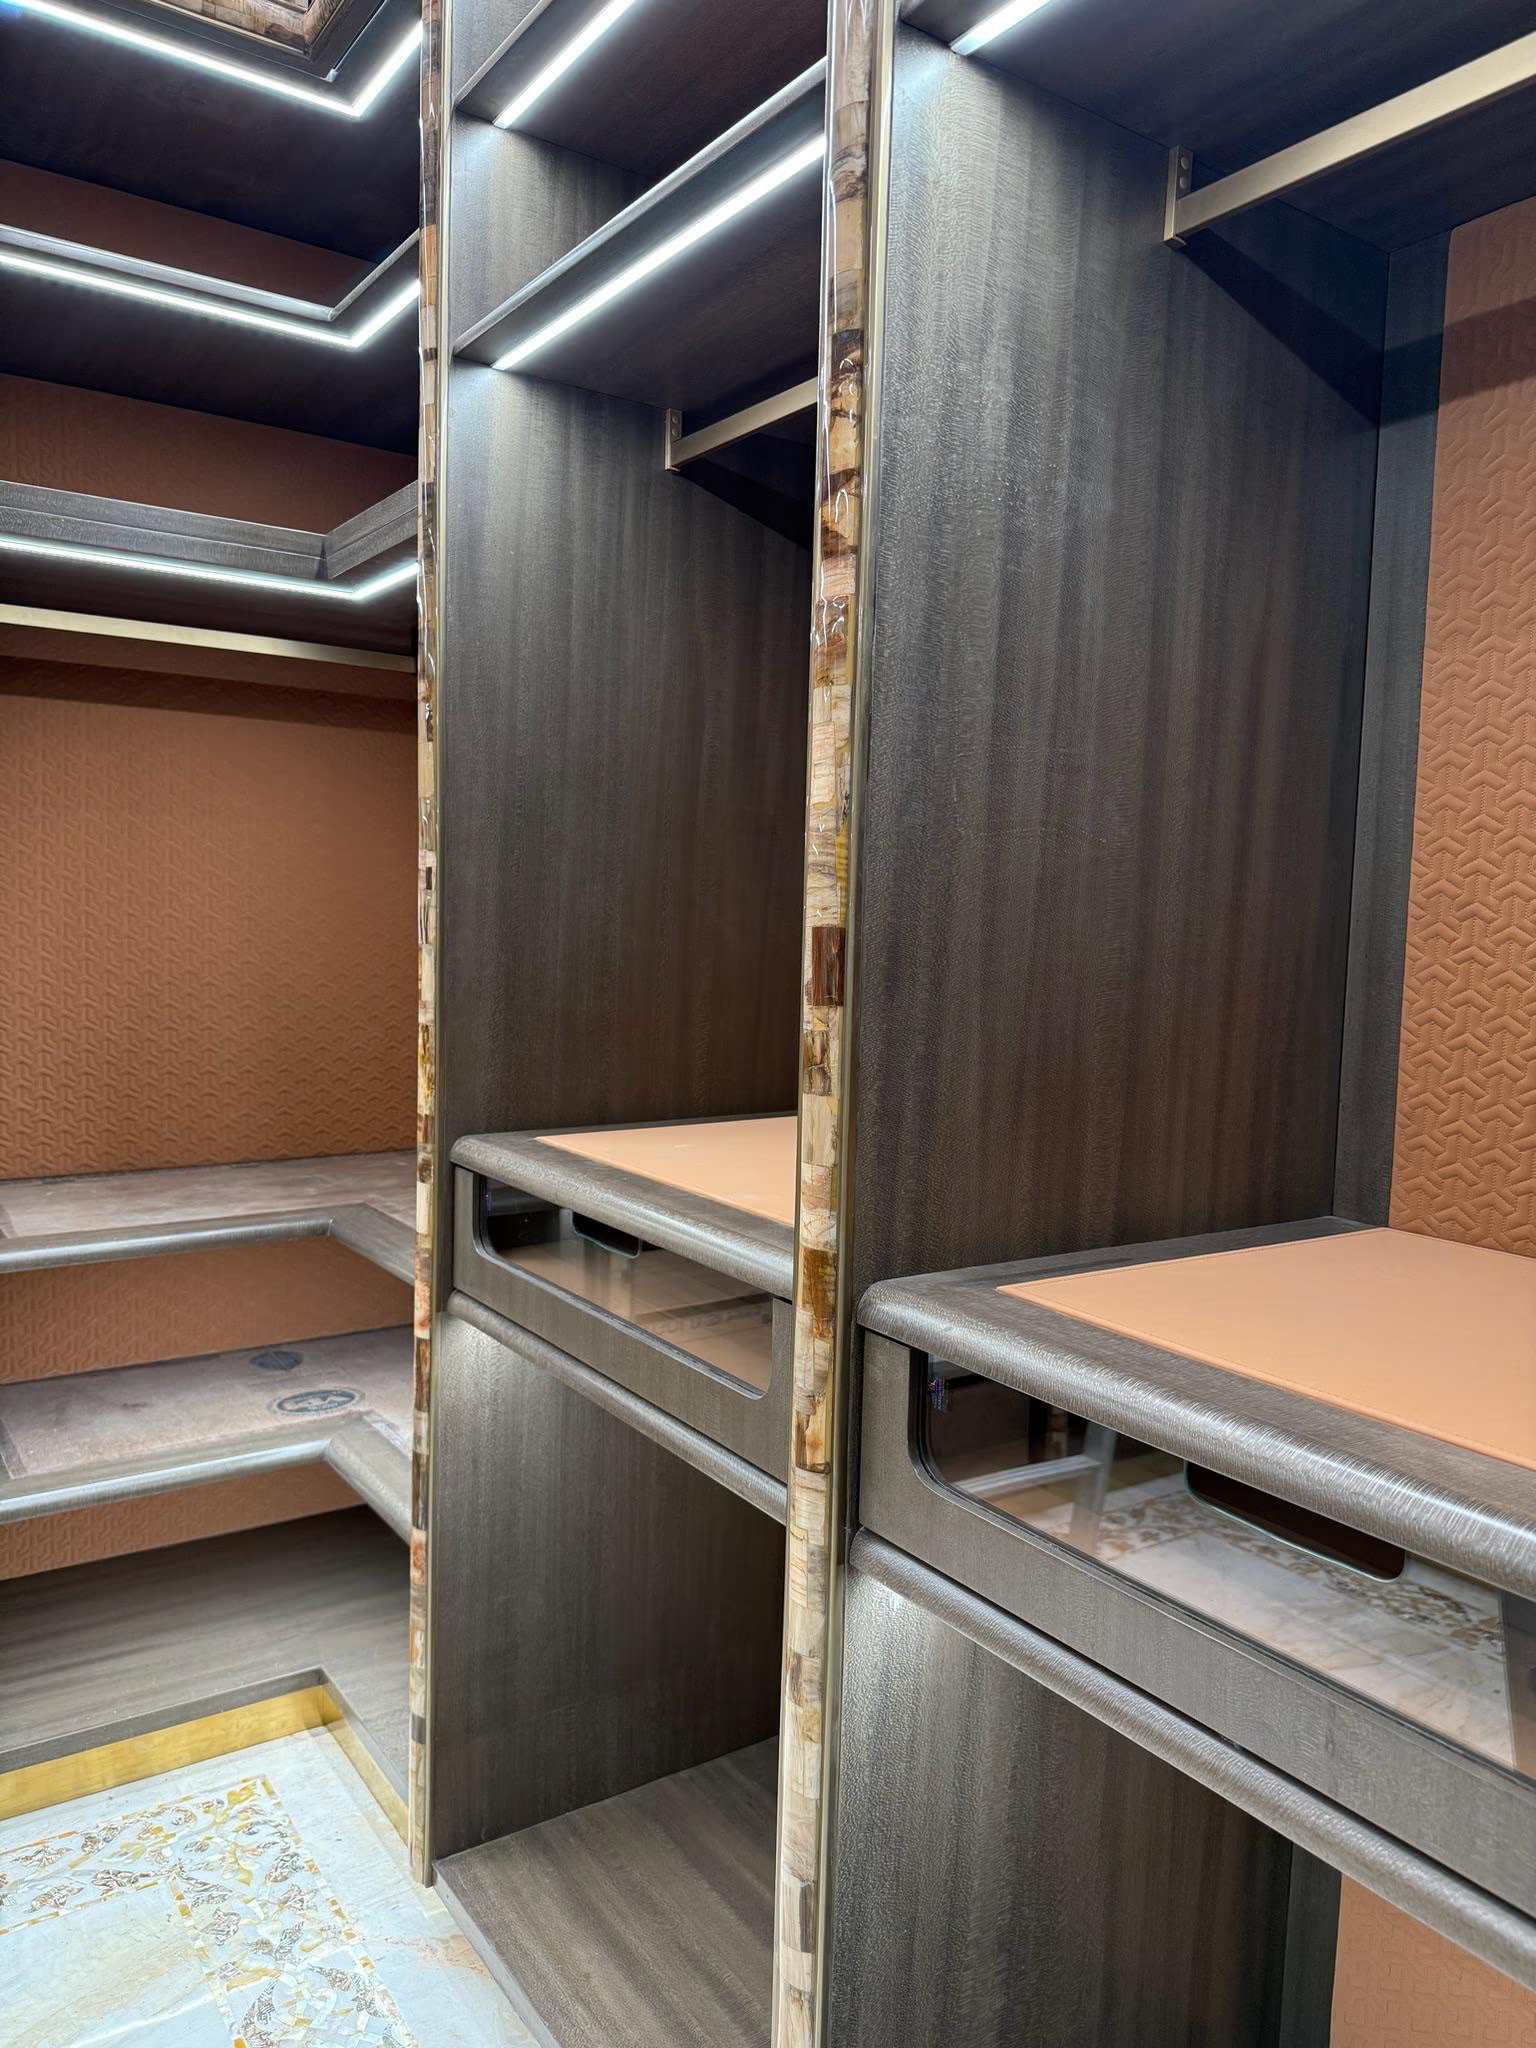
A made to measure wardrobe is planned from the inside out. The working internal depth for a hanging rail is 600mm, and 550mm is the bare minimum. Sliding door tracks eat 80–100mm of that depth. Plan to fill about 70–80% of the rail on handover. Here are the numbers to hand your maker.
Almost every wardrobe that disappoints was ordered by its outside size. Someone said ten feet by eight feet, floor to ceiling, a price was agreed, and nobody wrote down one internal dimension. The doors close beautifully. Then the coats rub, the sherwani will not hang straight, and the sarees end up in a suitcase under the bed.
This guide is the measurement document — the page to print, fill in and hand to whoever is making your wardrobe. It is deliberately not about looks; for that, read how to design a luxury walk-in wardrobe and our custom wardrobe ideas for a bedroom. This one is about the numbers drawn before anything is cut.
Plan a made to measure wardrobe from your clothes, not your wall
The wall tells you what you are allowed. Your clothes tell you what you need. Start with the second. Count what you own in categories, then measure the longest item in each from the top of the hanger hook to the hem. That measurement decides the height of every bay.
- Count hanging items by type: shirts, trousers on a hanger, jackets, kurtas, dresses, sherwanis, lehengas, gowns, coats.
- Convert the count to rail length. A rule of thumb: 25–30 shirts per running metre of rail, 15–20 jackets, 10–12 heavy or embroidered pieces. Beaded and zari work takes far more room than plain cotton.
- Count folded stacks and divide by shelf: one shelf opening holds a stack no taller than 300mm.
- Count shoes as pairs per row, and count bags by their footprint, not their number.
- Measure the longest garment in each category and write it down. It is the only way bay heights get set correctly.
Then add growth, on purpose. Plan to fill roughly 70–80% of the rail on handover. A rail that is full on the day it is installed has already failed: clothes crush, you stop hanging things back, and within a year the chair in the corner is doing the work. Specify one spare bay, one empty shelf and one unfilled drawer. It is the cheapest line in the quote, and high on our list of custom furniture mistakes to avoid.
Garment lengths and hanging space: the Indian wardrobe problem
Here is the thing almost nobody writes down. A standard imported carcass is built around a wardrobe of shirts, trousers and suits. An Indian wardrobe holds a sherwani, a lehenga, a floor-length anarkali and a stack of sarees — completely different lengths. Put them in a 1,050mm short-hang bay and the hems drag on the shelf below.
| Garment | Clear hanging height needed | How to plan it |
|---|---|---|
| Shirts, folded trousers on a hanger | 900–1,050mm | Short-hang. The ideal candidate for a double-hang bay. |
| Suits, jackets, blazers | 1,000–1,200mm | Short-hang, but check the longest jacket before you fix the rail. |
| Kurtas, shirts-dresses, mid-length dresses | 1,200–1,400mm | Its own bay. Too long for short-hang, wasteful in a full long-hang. |
| Long dresses, gowns, sherwanis, lehengas, anarkalis | 1,500–1,800mm | Full long-hang. Measure your longest piece — embroidered hems are heavier and longer than you think. |
| Coats and heavy winter wear | 1,200–1,400mm | Needs the full 600mm depth. This is the garment that rubs at 550mm. |
| Sarees | Shelf, not rail | Folded flat in a dedicated stack of 250–300mm openings. See below. |
Sarees are the clearest case. Most families store them folded, not hung, because a folded saree keeps its pleat and will not slide off a hanger. A dedicated stack with 250–300mm openings beats a rail. Keep each span short so it does not sag, and line the shelf smoothly so zari does not catch.
The double-hang trick
This is the biggest capacity gain available to you. A bay with 1,900–2,100mm of clear internal height holds one long-hang rail — or two short-hang rails stacked, upper at about 2,000mm and lower at about 1,000mm. Two rails in one opening nearly doubles what that bay holds. So the real question is not how much wardrobe do I have, it is how much of it deserves to be long-hang. For most people, one or two long-hang bays is plenty.
Wardrobe depth in India: the decision you cannot undo
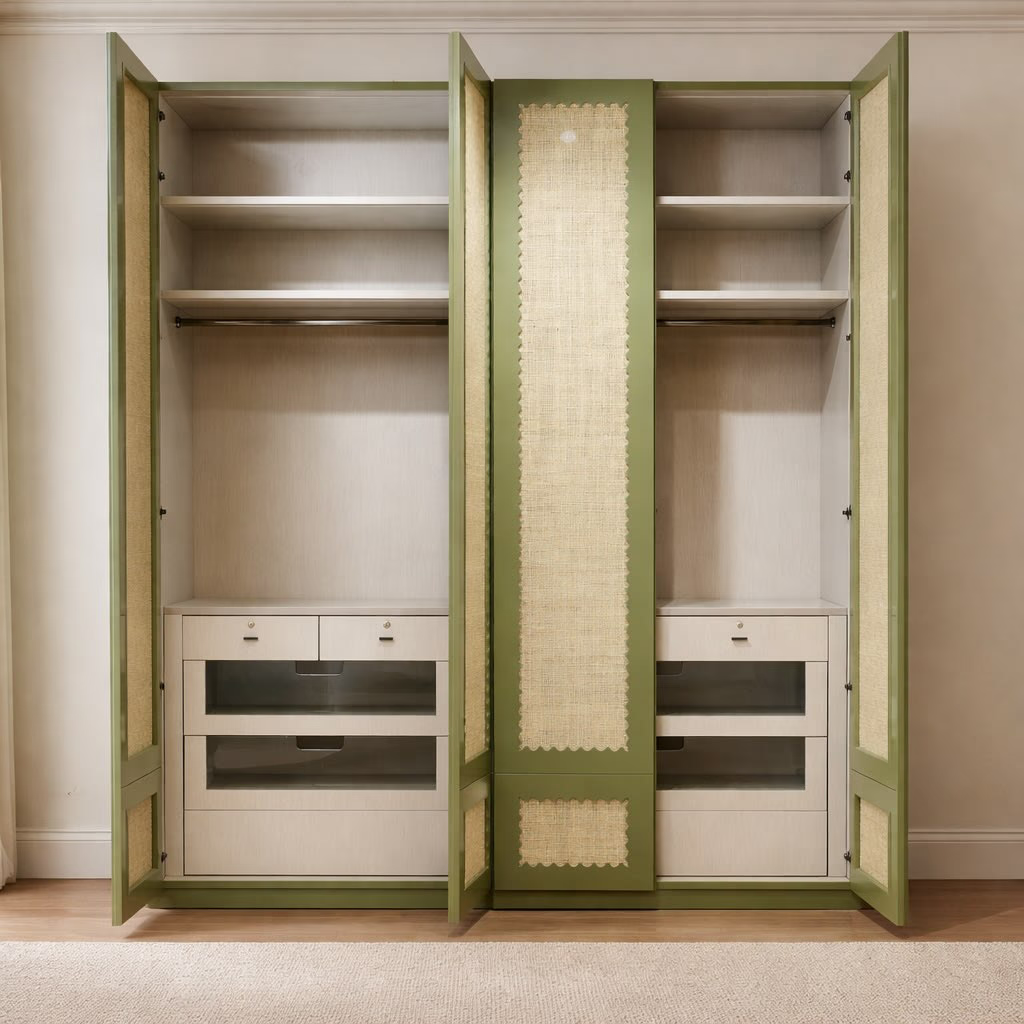
You can change a shelf. You can change a rail. You cannot change depth once the carcass is built into a wall, so get this right first. A shirt on a hanger is roughly 550–580mm across the shoulder. That one number sets everything.
- 600mm internal depth — the working number for a hanging rail. Clothes hang square, nothing touches the door, coats do not rub.
- 550mm internal — the bare minimum. It works for shirts. Coats and structured jackets will rub the inside face of the door and wear a shine on the shoulder.
- Below 500mm — you cannot hang front-to-back at all. You need a pull-out side-mounted rail that hangs garments along the wardrobe instead of across it. It holds far less, and every item must be pulled out to be seen.
- 400–450mm internal — fine for shelves, drawers and folded storage. Never for a rail.
Now add the door, because that is where people lose depth without noticing. A hinged door adds its own thickness outside, usually 18–20mm, and takes nothing from inside. A sliding system typically eats 80–100mm of depth for the tracks and panel overlap. Do that arithmetic once: a 650mm overall sliding wardrobe leaves about 550mm inside, while a 600mm overall hinged one leaves about 580mm. The sliding unit is 50mm fatter in the room and smaller inside it.
A 650mm sliding wardrobe holds less than a 600mm hinged one. The tracks eat the difference.
That is the single most useful fact here. It does not mean never use sliding doors. It means never specify a sliding wardrobe at 600mm overall and expect a rail to work in it. If the room forces sliding, build the carcass at 680–700mm overall so you still get 600mm inside.
Wardrobe doors: hinged, sliding, bi-fold and open
The door decides three things at once — how much of the wardrobe you can see, how much floor you need in front of it, and how much depth you keep inside.
- Hinged — full access, the whole bay open at once, and no depth lost. It needs swing space equal to the leaf width, usually 450–600mm, and it needs it in a clear arc.
- Sliding — no swing space at all, which is why tight bedrooms use it. But you can only ever see half the wardrobe at once, and the tracks take 80–100mm of depth.
- Bi-fold — folds in half, so it needs roughly half the swing of a hinged leaf. More hardware to go wrong, and the fold line sits in the middle of your view.
- Open or curtained — the walk-in answer. Nothing swings, nothing is lost, everything is on show. It only works in a room with its own door, and it asks you to keep it tidy.
Two failures show up again and again, and both are drawing-stage problems. A hinged door whose arc clips the corner of the bed, so it never opens fully and the paint wears off the bed post. And two adjacent doors that cannot both be open at the same time because the leaves collide in front of the corner between them. Draw every door arc on the floor plan before you agree the elevation. Five minutes, and the cheapest fix in the project.
Wardrobe heights and reach: a vertical zoning plan
Height is free storage, but only some of it is useful. Comfortable daily reach ends at about 1,900–2,000mm. Above that you stretch, and above roughly 2,200mm you need a step. That is not a reason to stop at 2,000mm — it is a reason to put the right things above it. Here is the vertical plan, from the floor up.
| Zone | Height above floor | What lives here | Number to specify |
|---|---|---|---|
| Floor zone | 0–300mm | Everyday shoes, deep drawers | 180–200mm per shoe row; 350mm+ for boots |
| Drawer bank | 300–1,100mm | Folded knitwear, innerwear, jewellery trays | Drawer fronts read easiest below 1,100mm |
| Lower short-hang rail | Rail at about 1,000mm | Shirts, folded trousers | 900–1,050mm of clear drop below it |
| Folded shelves | 600–1,900mm | Knitwear, jeans, saree stacks | 300–350mm openings; 250–300mm for sarees |
| Long-hang rail | Rail at 1,500–1,800mm | Gowns, sherwanis, lehengas, long coats | Measure your longest garment first |
| Upper short-hang rail | Rail at about 2,000mm | Shirts, jackets | Top of comfortable daily reach |
| Loft / overhead store | 2,000mm to ceiling | Suitcases, seasonal quilts, trunks | 400–600mm openings; needs a step |
Two notes. Size the loft to a real suitcase — a 550mm opening that will not take a large check-in bag is dead space with a door on it. And keep what you touch twice a day between 700mm and 1,700mm. That band is the wardrobe. The rest is storage.
Wardrobe shelves and drawers, in real numbers
Shelves fail in two ways, and both are avoidable at drawing stage.
- Opening height: 300–350mm. This is not really about the shelf, it is about the stack. A folded stack taller than about 300mm topples the moment you pull something out of the middle. The shelf gap exists to stop you building an unstable pile.
- Span: 800–900mm maximum. An 18–19mm panel loaded with folded clothes will visibly sag over about 800–900mm of unsupported span, and it sags permanently. Either shorten the span with a vertical divider, or thicken the shelf to 25mm, or add a metal stiffener at the back edge. A sagging shelf is the most common snag on a wardrobe two years old.
Drawers are where a made to measure wardrobe quietly earns its price, and the depth is not a style choice. 60–80mm internal depth for jewellery and watch trays — deep enough for a bangle, shallow enough that nothing stacks and tangles. 200–250mm internal for folded knitwear. 300mm+ for bulky winter wear. A single 300mm-deep drawer used for jewellery is worse than useless: everything ends up at the bottom in one heap.
Specify soft-close runners, and be honest about them: the runner is the part of a wardrobe that fails first. Panels last decades. A runner carrying 20kg of denim, pulled twice a day, does not. Ask two questions before you sign — what load is it rated for, and can it be replaced in ten years without dismantling the drawer box? Insist on full extension too: a partial-extension runner hides the back 100mm of every drawer permanently.
Walk in wardrobe planning: real minimum clearances
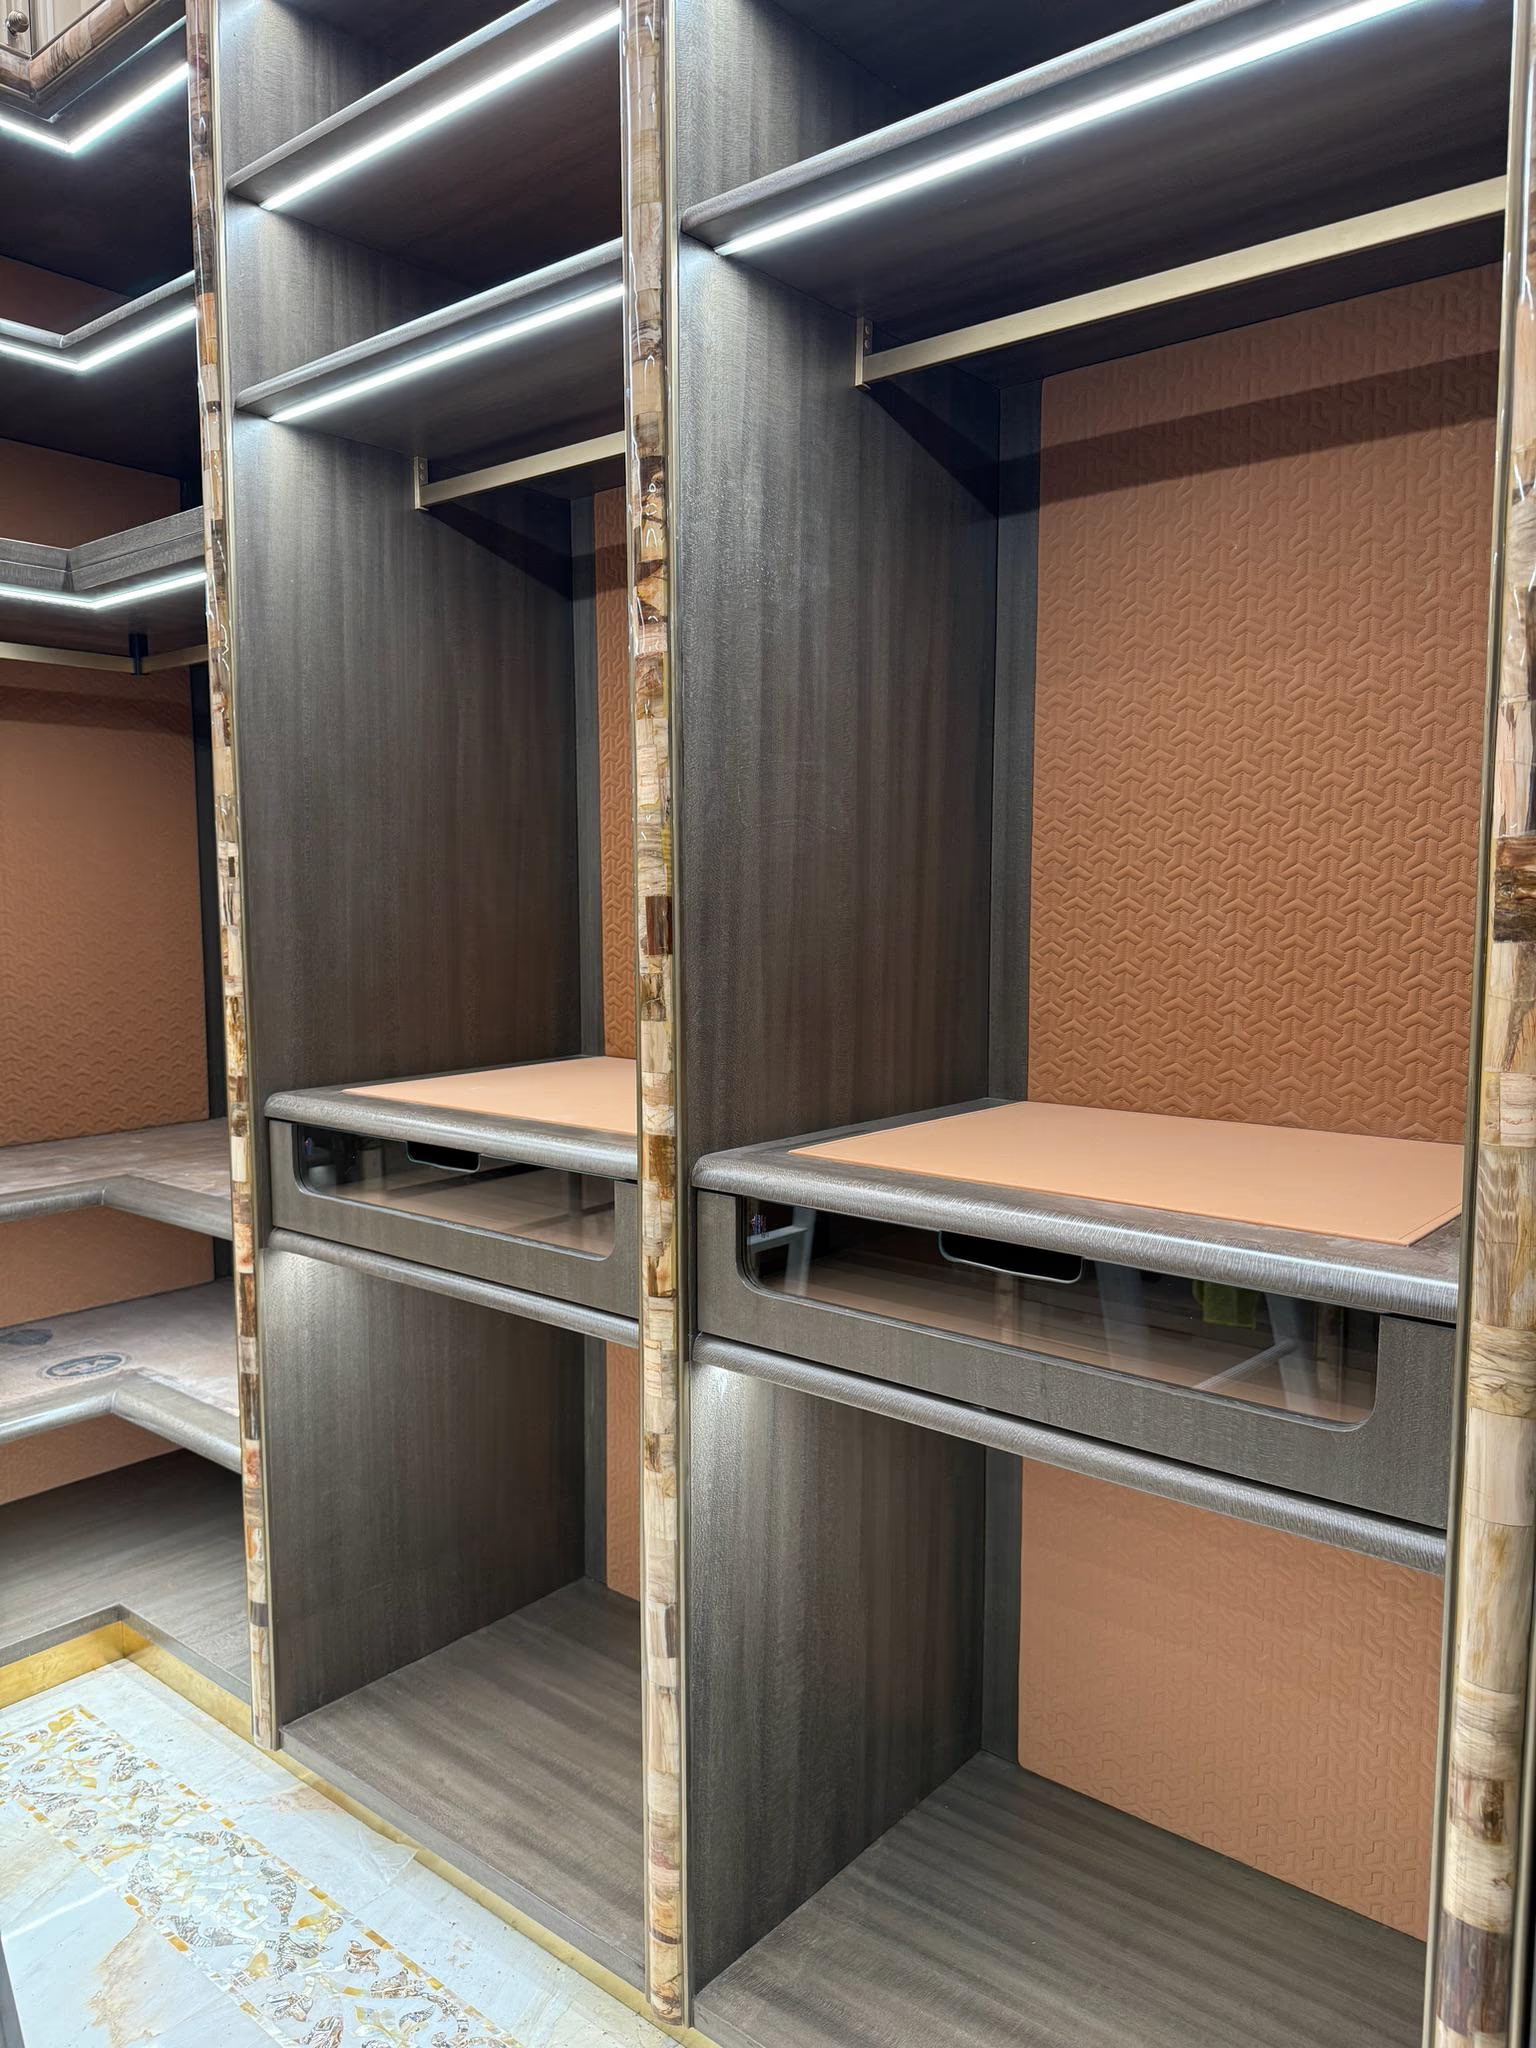
A walk-in is a room, and a room must let you stand, turn and bend without touching anything. These clearances decide whether a dressing room feels calm or feels like a corridor.
| Layout | Clear space needed | The honest verdict |
|---|---|---|
| Single-sided run | Wardrobe depth + 900–1,000mm of standing and turning space | With a 600mm carcass, plan on 1,500–1,600mm of room width. |
| Double-sided (galley) | 1,000–1,200mm clear between the two faces | 1,200mm if an open drawer and a person must occupy it at once. |
| Island in the middle | 900mm or more clear on every side | Below 900mm you edge around it sideways every morning. |
| Corner where two runs meet | Allow 900mm of clear turning space | Two doors meeting at a corner must both be able to open. |
Now the verdict people do not want to hear. A room that cannot give 1,000mm between the two faces should be a single-sided run, not a squeezed galley. An 800mm galley draws as twice the storage and behaves as half, because you cannot open a drawer on one side while reaching the other. One good wall beats two bad ones. If your room is awkward, read made-to-space furniture for odd-shaped rooms first.
The dead corner in an L-shaped wardrobe
Wherever two runs meet at a right angle, one 600mm × 600mm block of space becomes hard to reach. There are exactly three honest ways to deal with it, and a maker who does not raise the question has not thought about it.
- A proper corner unit with an angled front. The face is cut at 45 degrees across the corner, with a short rail behind it. It uses the space and looks deliberate. It costs the most.
- A blank return you accept. One run passes the corner, the other stops short, and the dead block is closed off — or opened from the side as deep storage for things you reach twice a year. Cheapest and most honest.
- A pull-out corner fitting. A carrier that swings the contents out to you. It works, but holds less than the volume it occupies and adds a moving part where service is hardest.
Send us the room and your garment counts, and we will draw the internal elevations before anything is cut. Nothing goes to the saw until you approve the drawing.
Send us your space →Lighting and ventilation for a wardrobe in India
Light first. Run warm LED strips at the front edge of each shelf, facing down. A strip at the back lights the panel and leaves your clothes in shadow. Use warm white around 3000K so colours read true. Put the strips on a door sensor, and keep the driver where you can reach it — the driver is the part that dies.
Ventilation is the part that actually damages clothes. Indian interiors swing roughly 30% to 85% relative humidity across a year. A sealed wardrobe pushed tight against an external wall, or the back of a bathroom wall, becomes a cool pocket where damp air condenses — and that is how mildew starts on the back of a silk kurta.
- Leave a ventilation gap at the back. A 20–25mm cavity between the carcass back and the wall lets air move instead of sitting still.
- Add a moisture barrier on any wall shared with a bathroom or exposed to weather, before the carcass goes in. It cannot be added later.
- Do not push the carcass tight against a damp wall. Scribe it at the visible edges and leave the cavity behind.
- Never put damp clothes away. No joinery survives that — clothes stored slightly damp will smell within a week.
- Vent the doors quietly — a cane or fluted panel, or a slotted plinth, moves air without looking like a louvre.
The full routine for a humid climate is in how to care for furniture in a humid climate.
Wardrobe materials and finishes, and what each one asks in return
Every finish makes a promise and sends a bill. Here is the honest exchange, and the full range is on our materials page.
- Solid hardwood — for frames, doors and anything that takes a knock. It moves across the grain, not along it, so a wide solid door must be built to allow that movement. Ask how.
- Veneer over a stable core — the right answer for large flat doors. A face veneer needs a backer veneer on the reverse, or the panel cups. A cupped door never closes flush again. See solid wood vs veneer.
- Lacquer — calm, and unforgiving of a poor substrate, because gloss shows every ripple underneath. Ask how many coats, and how it is cut back between them.
- Fluted and cane panels — beautiful, and cane moves air. It needs a dry room and a gentle brush, never a wet cloth.
- Mirror — inside the door protects the glass and gives a full-height view when it opens. Outside makes the room look bigger and puts the glass where rings and children reach it. Pick on purpose.
- Leather-clad shutters — soft to the hand, and they mark. Keep them out of direct sun and off a bathroom-shared wall.
- Brass and inlay detail — brass darkens unless lacquered, and lacquered brass cannot be polished back without redoing the lacquer. Both are fine. Choosing blind is not.
Getting the wardrobe into the room
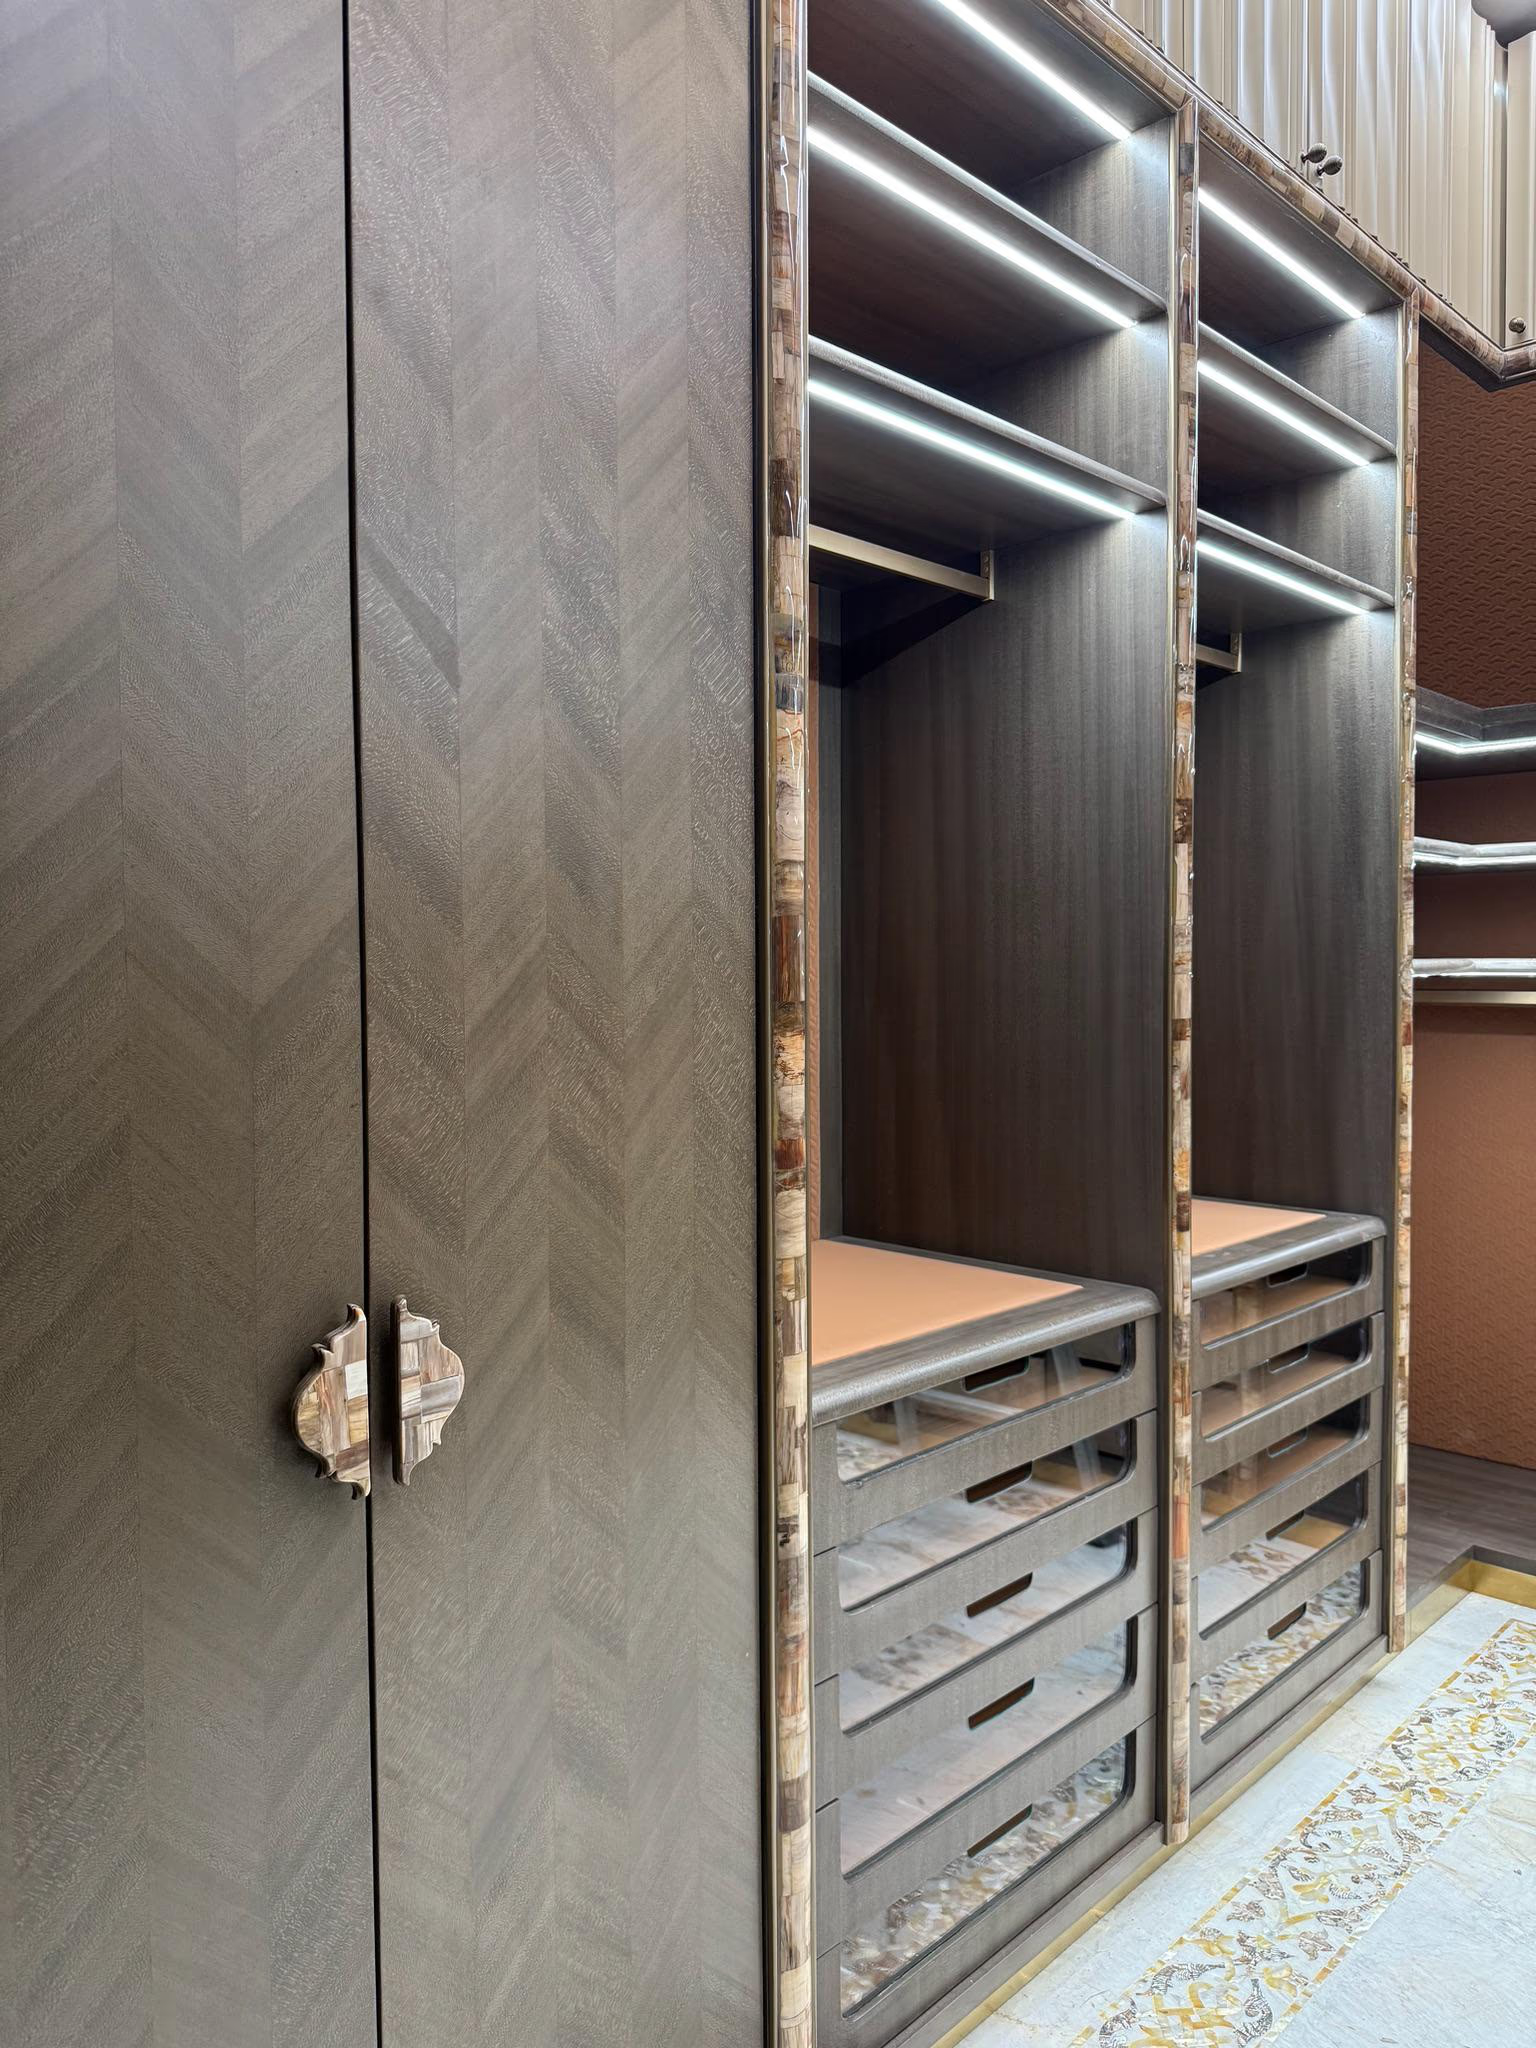
A wardrobe that cannot reach the bedroom is not a wardrobe. A common failure: a 600mm-deep, 2,400mm-tall carcass cannot turn the corner of a 1.2m corridor in one piece. The diagonal beats the corner. Measure the route before the unit is engineered, not after.
- Measure the whole route: lift car and lift door, stair width and landing turns, every corridor corner, every doorway, and the ceiling height on the way.
- Decide one-piece or knock-down. One-piece is stronger and faster to install, but must fit the route. Knock-down assembles in the room and is the honest answer for tight access.
- Check ceiling height at more than one point in the room. Ceilings are rarely level.
- Decide floor-to-ceiling or stop-short. Floor-to-ceiling holds more and traps no dust on top, but needs a scribe filler.
A filler is not a cover-up. Ceilings are not level and walls are not plumb — a 10–15mm fall across a 3m run is normal. A carcass is built square, because square is the only way a door hangs true. The scribe filler takes up the difference between a square box and a real building. Without one you get a wavy gap at the top, or doors that bind.
Your made to measure wardrobe planning checklist
Fill in the middle column and hand this to whoever is drawing your wardrobe. A maker who cannot answer these is quoting a box, not a wardrobe.
| What to measure or decide | Your number | The standard to check it against |
|---|---|---|
| Wall width, at floor and at ceiling | Expect a 10–15mm difference. Both numbers matter. | |
| Ceiling height, at each end | Never assume one number across the run. | |
| Internal depth | 600mm for a rail; 550mm bare minimum; under 500mm needs a pull-out rail | |
| Door type and depth loss | Hinged: adds 18–20mm outside. Sliding: takes 80–100mm inside. | |
| Longest garment, measured | Sets the long-hang bay: 1,500–1,800mm | |
| Running metres of short-hang needed | 900–1,050mm clear per rail; double-hang needs 1,900–2,100mm total | |
| Number of folded shelves | 300–350mm openings; 250–300mm for saree stacks | |
| Longest unsupported shelf span | 800–900mm max for an 18–19mm panel | |
| Drawer count, by internal depth | 60–80mm jewellery / 200–250mm knitwear / 300mm+ bulky | |
| Shoe rows and boot rows | 180–200mm per row; 350mm+ for boots | |
| Loft opening height | 400–600mm, sized to a real suitcase | |
| Growth allowance | Fill 70–80% on handover — one spare bay, shelf and drawer | |
| Walk-in clearance between faces | 1,000–1,200mm galley; 900mm+ around an island | |
| Corner strategy | Angled corner unit, accepted blank return, or pull-out | |
| Back ventilation gap | 20–25mm, plus a moisture barrier on a shared bathroom wall | |
| Access route: narrowest point | Check the diagonal against every corridor corner and the lift | |
| Scribe filler location | Must be on the drawing, top and at least one side |
Fill in your numbers and send them with a photograph or plan of the room. We draw the internal elevations, mark every rail height and shelf opening, and show you the drawing first — nothing is cut before you approve it. Each piece is built by hand in our 80,000 sq ft factory in Village Bil, Vadodara, by 130+ people across ten departments, and delivered free anywhere in mainland India. Start at customization, see fitted pieces under furniture, browse the shop, or read luxury master bedroom design ideas.