

Send a drawing, get furniture. A scaled PDF with three real dimensions is worth more to a factory than a photoreal render with none. We work from DWG, DXF, PDF, SKP, 3DM and STEP files. Our Design & Technical Development team turns your design drawing into a shop drawing. Nothing is cut before you approve it.
You have a file and a deadline. Maybe it is a DWG plan with elevations, maybe a SketchUp model your junior built in an afternoon, maybe a photograph of a wall with three sizes written on it in pen. The question is always the same: what does a factory actually do with this, and what will come back?
This page answers that in order. What each kind of input can and cannot tell a factory. Which file formats work and which quietly break. The difference between the drawing you designed and the drawing we build from. The conflicts between intent and manufacture, and how they get resolved. And a checklist you can copy into an email so a factory can start without asking you a single question.
What a factory can read from each kind of drawing
There is an honest hierarchy of inputs. It is not about how beautiful the file is. It is about how much of it can be measured. A render is a picture of a decision. A dimension is the decision itself.
| What you send | What it tells us | What it cannot tell us | Can we start? |
|---|---|---|---|
| Hand sketch on paper | Shape, proportion, intent, the idea | Any real size, any thickness, any joint | Not yet — we measure or ask |
| Photograph of the room | Light, wall finish, sockets, what is already there | Dimensions. A wide lens bends every straight line | Not yet — needs sizes |
| Mood board or pinned images | Style, colour, finish direction, the feeling | Size, structure, material, cost | Not yet — style only |
| Photoreal 3D render | Look, material feel, how you imagine the joint | Scale, panel thickness, hardware, tolerance | Not yet — no numbers |
| Scaled PDF with dimensions | Real sizes, plan and elevation together | Nothing much, if the scale is stated | Yes — usually enough |
| DWG or DXF plan + elevation | Exact line geometry, layers, dimension entities | Joints, grain, hardware, unless noted | Yes |
| 3D model with real thicknesses | Volumes, sections, clashes, curved surfaces | Grain direction, joint type, tolerance | Yes — fastest route |
Read the table twice and you find the punchline every architect already suspects. A scaled PDF with three dimensions on it is worth more to a factory than a photoreal render with none. The render is the more expensive file. The PDF is the more useful one. We can build from a plan, an elevation and a section. We cannot build from a mood.
A scaled PDF with three dimensions beats a photoreal render with none. One can be measured. One cannot.
File formats for furniture manufacturing: DWG, DXF, PDF, SKP, 3DM, STEP
Each format carries a different amount of truth. Here is what they are for, and the specific way each one tends to fail when it reaches a factory floor.
| Format | What it holds | Best used for | Where it breaks |
|---|---|---|---|
| DWG / DXF | 2D lines, layers, blocks, dimension entities | Plans, elevations, sections — the working currency of Indian practice | Unitless files; blocks exploded so nothing is editable; layers named Layer1 to Layer40 |
| A flat page, at one printed scale | Sharing safely — everyone can open it, nothing shifts | A page scaled to fit A4 is no longer 1:50. State the scale on the sheet | |
| SKP (SketchUp) | Fast surface geometry, groups, components | Showing the idea and the room around it | Zero-thickness faces. A 20mm panel drawn as a flat surface with no depth at all |
| 3DM / STEP | True solid geometry with real volume | Curved, faceted and machined parts | Heavy files; often no layer names; material and grain still have to be written down |
| JPG / PNG | A picture | Reference for look, finish, colour direction | It is reference. It is never a drawing. No size can be trusted from an image |
Five problems account for most of the delay on incoming files, and all five are avoidable in about ten minutes at your end.
- Zero-thickness surfaces. The model looks solid on screen. Open a section and the panel has no depth. Nothing can be cut from a surface with no thickness.
- Everything exploded. Blocks and components blown apart into loose lines. Change one shelf height and there are now nine places to edit and one that gets missed.
- Unnamed layers. Forty layers, no names, furniture on the same layer as the electrical. We cannot tell which lines are yours to build and which are the room around them.
- Wrong or missing units. A drawing set to unitless, or drawn in inches when the factory works in millimetres. A 96 that means 96 inches and gets read as 96mm is not a small mistake.
- A 1:1 export that is not. The sheet says 1:1 but the page was scaled to fit on print. Measure any known line before you send it. If a 1,000mm line measures 998, the whole set is off.
Design drawing vs shop drawing: the gap that decides the piece
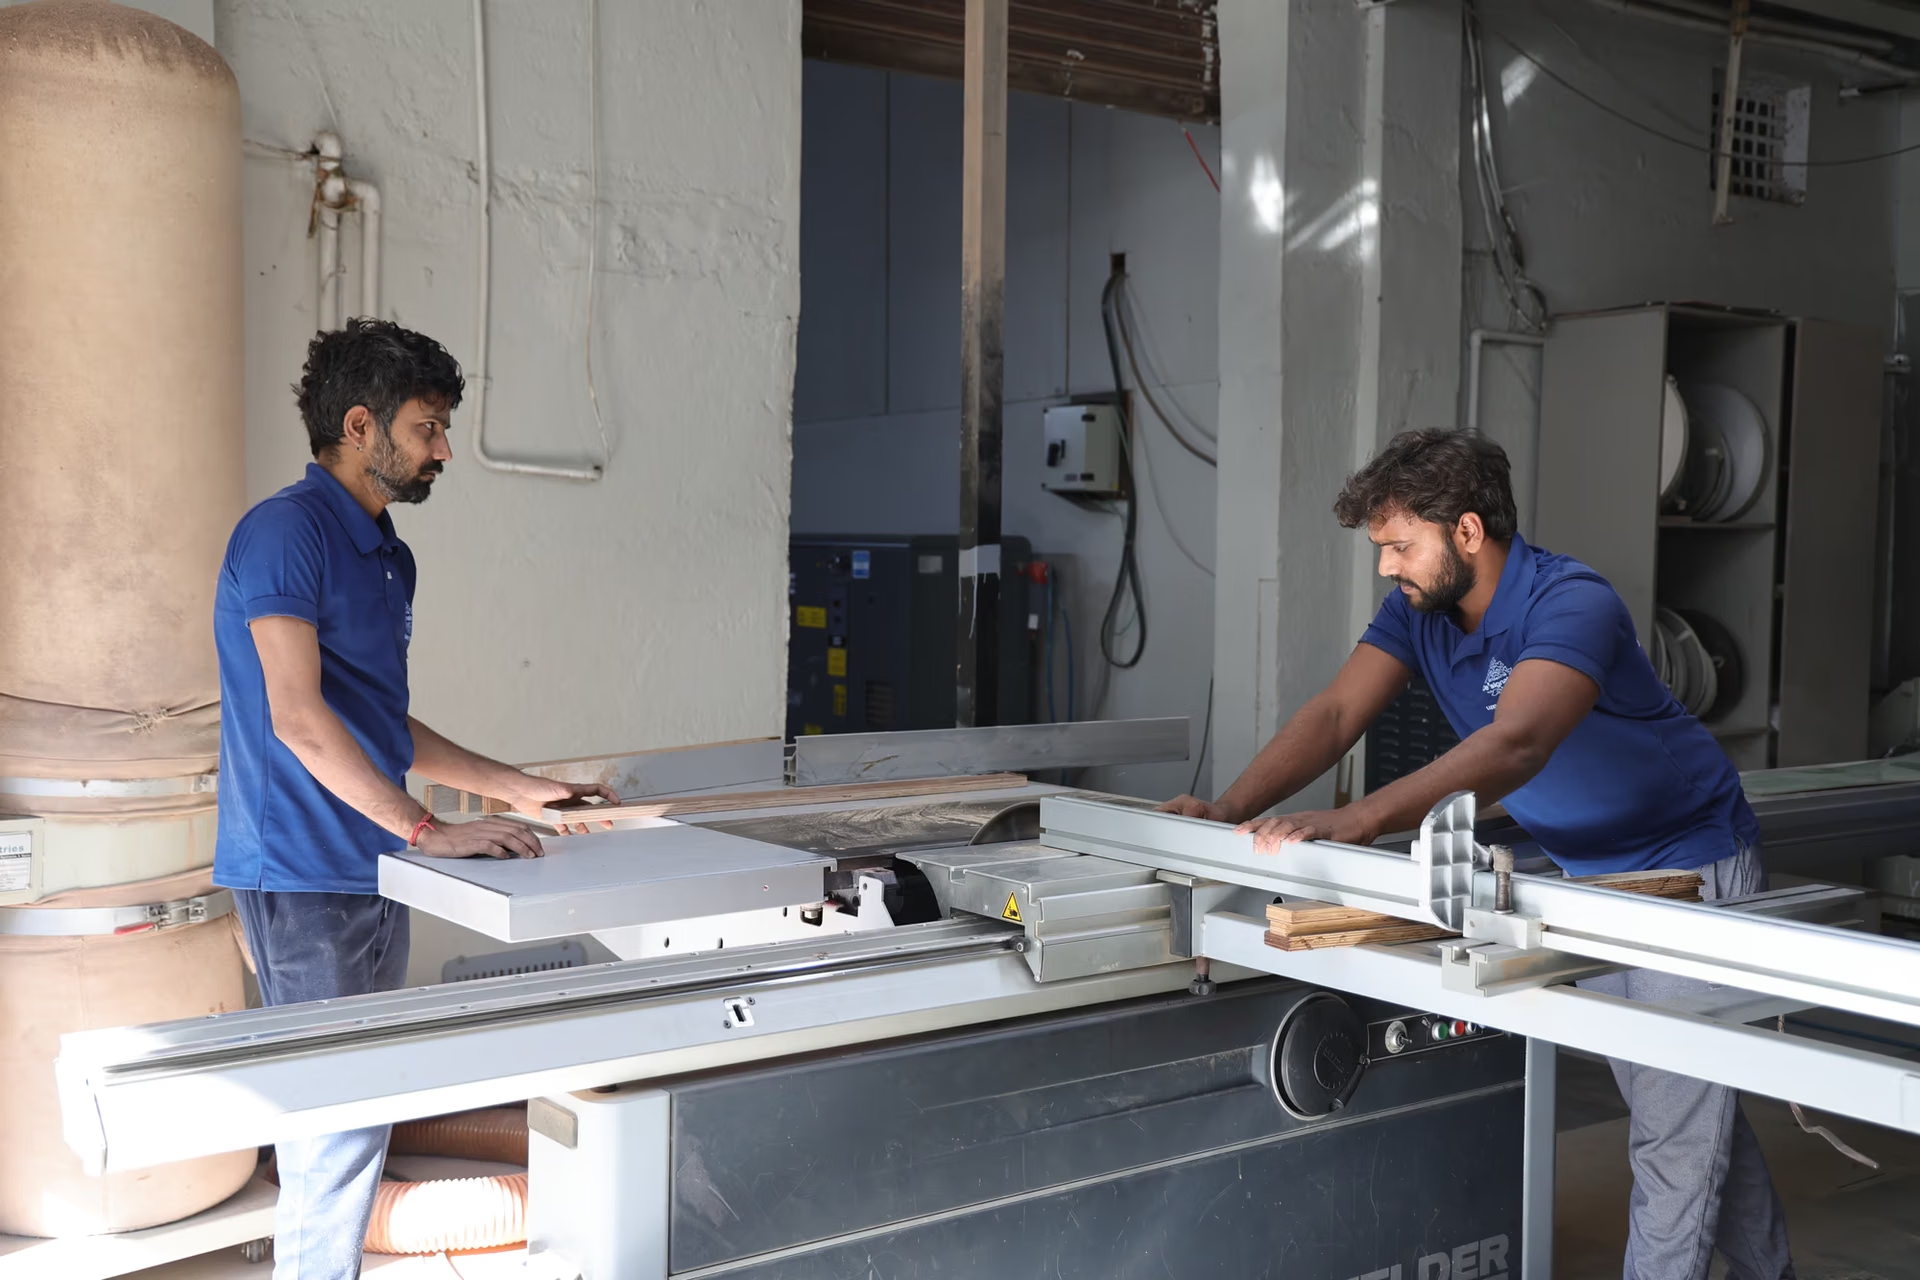
This is the heart of it. A design drawing shows what the piece looks like. A shop drawing shows how it is built. They are different documents with different jobs, and confusing them is the most expensive mistake in custom furniture.
Your design drawing is right. It is not wrong for leaving things out — leaving them out is the point. But a factory cannot cut a line that has no thickness, and cannot buy a runner that has no model number. Somebody has to fill the gap. In our case it is the Design & Technical Development department, the first of our ten departments, and the gap looks like this.
| Information | Design drawing | Shop drawing |
|---|---|---|
| Overall size and look | Yes | Yes |
| Panel thickness | Usually not stated | Named: 18mm carcass, 25mm top, 6mm back rebated in |
| Joint type | Not shown | Named at every junction: mitre, dowel, dado, mortise and tenon |
| Hardware | A handle-less look | Model, finish, and the clearance it needs to work |
| Edge profile | A line | Radius, chamfer, lipping, and which face the lipping shows on |
| Veneer grain direction | Rarely | Arrow on every panel. Book match, slip match or sequence |
| Back and unseen faces | Not shown | Stated: finished, painted, or balancer veneer to stop the panel cupping |
| Break-down for access | Not shown | Where the piece splits, and how the splits are hidden and pulled together |
| Fixing positions | Not shown | Every screw, plate, dowel and bracket, with a distance from a datum |
| Tolerance and shadow gaps | Not shown | The gap is a number: 3mm shadow line, 2mm reveal, scribe allowance each side |
One line in that table is worth its own paragraph. Balancer veneer. If a panel gets a face veneer and nothing on the back, it will cup — the two faces pull differently as humidity swings between roughly 30% and 85% RH across an Indian year. A design drawing has no reason to mention it. A shop drawing has no right to leave it out. Same panel, same wall, two very different outcomes in the second monsoon.
Where design intent meets manufacture: five real conflicts
Almost every drawing set carries at least one instruction that cannot be built exactly as drawn. That is normal. It is not a failure of the design. It is what detailing is for. Here are five we meet constantly, and what actually happens to each.
- A 12mm stone top, drawn as a thin floating plane. A 12mm slab of onyx or marble on an open span will crack. It is resolved by laminating a mitred drop edge onto a substrate so the edge still reads 12mm, or by bonding the slab to an aluminium honeycomb or ply backer with support at the right centres. The look survives. The physics changes.
- A 3,600mm one-piece top that cannot enter the lift. A standard lift car door is around 800mm wide and the car is often 1,200–1,400mm deep. A door leaf is 900mm. The top goes up as two or three segments with a concealed spline and drawn joint lines, placed where the eye expects a line to be. Site access is measured before the top is drawn, not after it is built.
- A handle-less push-to-open front with no gap in the elevation. Push-to-open needs travel. The mechanism needs a gap to push into, and side-mounted ball-bearing runners need 12.5mm of clearance on each side of the drawer box. Your elevation shows a flush line. The shop drawing shows a 3mm reveal, and we agree that number with you before it exists in real wood.
- A mitre on a veneered panel. A clean 45-degree mitre on a veneered board exposes the core at the corner, and you get a dark line the render never showed. It is resolved by wrapping the veneer around the corner before cutting, or by a lipping that takes the mitre, or by moving to a solid edge. Three answers. One has to be picked before machining.
- A cantilever that wood cannot hold. A floating shelf or a long unsupported bench needs a steel plate or box section inside the timber, sized to the span and load, buried so nothing shows. The drawing says floating. The shop drawing says how it floats.
None of these are argued on the factory floor. They are raised as an RFI — a written query list — while the drawing is still a drawing. That is the entire reason the query stage exists. The same discipline runs through how we design furniture around your room, and the failures that follow when it is skipped are collected in custom furniture mistakes to avoid.
What happens when your file reaches Design & Technical Development
Our factory in Village Bil, Vadodara runs ten departments under one roof across 80,000 sq ft, with 130-plus people including CAD engineers and architects. Your file lands in department 01 and moves in a fixed order. Nothing skips a step.
- Read the file and log it. Format, version, what is in it and what is missing. Your set is logged against your project and nobody else's.
- Check units and scale. A known dimension is measured against the drawn line. If they disagree, we stop and ask. We do not guess a scale factor.
- Rebuild the geometry. Surfaces get real thicknesses. Curves get real radii. The piece becomes something with volume, weight and a section.
- Resolve the intent conflicts. Every point from the list above gets an answer, in writing, with a reason.
- Raise the RFI. One consolidated query list, not a drip of messages. Access widths, finish references, hardware choices, grain direction, who supplies what.
- Issue the shop drawing. Plan, elevations, sections, details, hardware schedule, finish schedule. This is the document you sign.
- Get approval. Your signature on the shop drawing. Prototypes or samples first where the piece or the finish earns one.
- Produce the cut list. Every part, every size, every material, every edge, driven from the approved drawing.
- Then cut. Not before.
Nothing is cut before the client approves. It is the single most important sentence on this page. Changing a line on a drawing costs an afternoon. Changing a cut panel costs the panel, the veneer leaf that was matched to it and the slot in the programme it was built into. The full route from that first file to an installed piece is set out in how bespoke furniture is made and in our design process.
Architects and designers: send your drawing set and we will come back with a query list and a shop drawing, not a brochure.
Work with us on a project →What the CNC does with your file, and what it never touches
CNC & Precision Manufacturing is department 03. A machine does not read your design. It reads a cut list and a toolpath, both generated from the approved shop drawing. Here is the honest division of labour.
The machine takes parts and nests them onto sheets, arranging them to waste as little board as possible and to keep grain running the way the drawing says it must. It bores 35mm hinge cups at the same position on the fortieth door as on the first. It cuts grooves, rebates and dowel holes to the same depth every time. On a 40-piece run — a boardroom of identical chairs, a floor of matching cabinets — that repeatability is the whole point. Hands are wonderful and hands drift. Over forty parts, drift shows.
What the machine deliberately does not do: carving, inlay, veneer selection and matching, upholstery, polishing, and final fit on site. A mother-of-pearl inlay is cut and set by a person, one piece at a time. A velvet nap is laid one way across a whole suite by someone who checked it under light. The last millimetre of fit against a plastered wall is taken off with a hand plane. Any factory that tells you a machine does all of it has not shown you its Upholstery or Veneering floor.
Tolerances in plain words: what a millimetre means on a 3-metre run
Tolerance is not a technicality. It is the difference between a wardrobe that closes and a wardrobe that fights you. Here is the whole subject in short sentences.
Errors add up. One millimetre out at each of twelve joints along a 3,000mm run is not one millimetre. It is twelve, and it lands at the last door, which now will not close. So parts are cut against a single datum, not measured off the part before them.
Walls are not square and floors are not flat. That is why a niche is measured at three heights — near the floor, at about 1,000mm, and near the top — and at both ends. Indian plaster commonly varies 8–15mm across a wall height. The narrowest of the three readings is the one that governs the build. Measure once at eye level and the unit will jam at the skirting.
And this is the sentence to carry away: make it 2,400 and make it fit a 2,400 opening are two different instructions. The first is a size. The second is a fit. For the second we build to about 2,388 and take up the rest with a scribe filler — a sacrificial strip at each end, cut and planed on site to follow the real wall. That strip is not a compromise. It is the only reason a fitted piece can look like it grew in the room. Standard furniture has no scribe, which is exactly why standard furniture fails in luxury homes.
What to send so a factory can start without a single question
Copy this list into your email. If all nine items are there, we can go straight to detailing and the first thing you hear back is a shop drawing, not a question.
- The drawing set. DWG or DXF if you have it, plus a PDF of the same sheets with the scale printed on them. Plan, elevations, and a section anywhere the piece is not a simple box.
- Units, written in the email. Say millimetres. Say it even when the file says it.
- A 3D model where the piece is curved, faceted or carved. SKP, 3DM or STEP. Say whether the model has real thicknesses or is a surface model.
- Site dimensions taken at three heights, with ceiling height, and a note of any skirting, cornice, beam or dado that the piece has to pass or meet.
- Access route. Lift car size and lift door width, staircase width and turns, the narrowest door, and the floor. This decides whether the piece is one part or three.
- Finish references. RAL or NCS number, a Pantone, a veneer species and cut, a leather or fabric reference. A photograph is a direction; a reference number is an instruction.
- Hardware intent. Push-to-open or handles, soft-close or not, any brand you are matching across the project, and who is supplying it.
- Services in or behind the piece. Sockets, data, wire routes, lighting drivers, cut-outs, and the equipment sizes they serve.
- Photographs of the real room today, including the walls behind and the floor. Not for measuring — for everything the drawing does not say.
If you have less than this, send it anyway. A photograph and three sizes is a real starting point, and half our commissions begin exactly there. The list is not a gate. It is a way of getting to a drawing faster. If you want to see the plant the drawing goes into, the factory page walks the departments in order.
Your drawing set stays yours
One more thing, because architects ask it before they attach a file. Your drawings are your intellectual property and your client is your client. We build from your set; we do not adopt it. Your project name, your plans and your photographs are not published, not shown to another buyer, and not used in our marketing without written permission. If you want that stated before a single file moves, ask — it is set out on our confidentiality page, and it applies to a napkin sketch as much as to a full tender set.
Have a drawing, a model or a sketch? Send it and we will detail it, price it and build it to your millimetres.
Start a commission →The short version: send what you have, in whatever state it is in. We will read it, question it, draw it properly and put a shop drawing in front of you before anything is cut. Start with customization if the piece is for your own home, with trade if you are specifying for a client, or read how bespoke furniture is made to see the whole route from your file to an installed piece.